Business Accounts
Purpose
The main purpose of this functionality is to provide a common user option to register his business, & perform all transactions against his BUSINESS NAME apart from his personal name.
The user will be able to register his/her Quick Mart Business Account by specifying the required details while doing the Signup. If the user performed the operations on Quick Mart with his/her Business account, all the invoices will be created as per his/her Business Account.
After registering for a business account, Admin will be notified in the backend via email
Admin reserves the right to accept/reject Business a/c after reviewing his information & uploaded documents.
Once accepted by the admin, the user will receive his/her business account activated confirmation email.
Navigation Path
Path: Business Account Mgmt.> Business Accounts
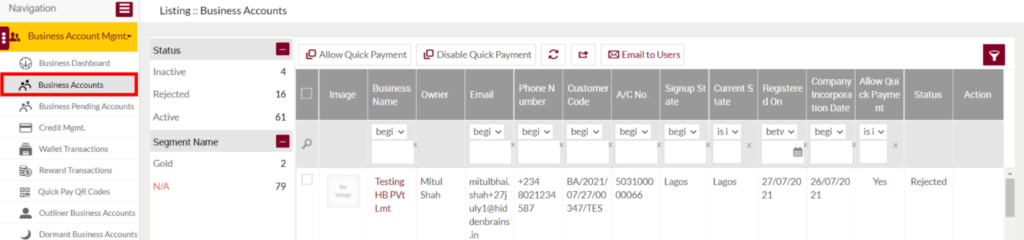
Listing Screen
Expect the pending accounts all the Business Account that are created on the Quick Mart mobile application or website will be listed here. Admin will have an option to “Approve/ Reject” and view the user notes of the business accounts. Admin will be able to search the business accounts by using the filter option provided on the list.
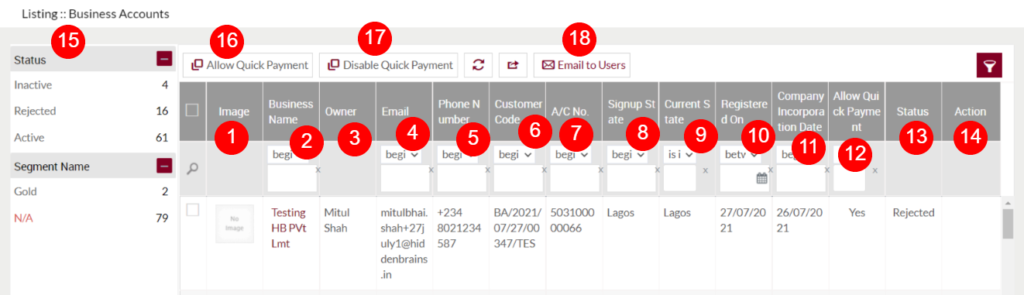
- Image: Specifies the image of the business account
- Business Name: Specifies the name of the Business account, on click, the user will be navigated to the particular account Summary page.
- Owner : Specifies the name of the business account owner.
- Email: Specifies the email address of the business account.
- Phone Number: Specifies the phone number associated with the particular business account.
- Customer Code: Specifies the customer code of the particular business account.
- A/c No: Specifies the account number of the particular business account.
- Signup State: Specifies the business coconut signed up state. For example, if the business coconut is signup by selecting the state “Abia” then the Signup state will be displayed as “Abia”.
- Current State: Specifies the current state of the business account.
- Registered On: Specifies the date when the business account has registered.
- Company Incorporation Date: Specifies the particular company incorporation date.
- Allow Quick Payment: Specifies the quick payment status of the business account. If the Quick payment option is enabled for the particular business account then “Yes” will be displayed, if not “No” will be displayed.
- Status: Specifies the status of the business account.
- Action: For the accounts having the status
- For an actively available business account, the user will be able to Reset its password by clicking on the “key Icon” under the action field.
- For active and inactive accounts the user will be able to view its User Notes Log.
- Left Panel search: The user will be able to search the business accounts list from here.
- Allow Quick Payment: By selecting the required business accounts and by clicking on the allow quick payment button, the user will be able to allow the quick payment option to the particular business account.
- Disable Quick Payment: By selecting the required business accounts and by clicking on the disable quick payment button, the user will be able to disable the quick payment option for the particular business account.
- Email to Users: By selecting the required business account and by clicking on the email to users button, the user will be able to send an email to the selected business accounts.