Banners
Purpose
The main purpose of this module is to enable the administrator to manage the Banners that will display on both the mobile and web eShop applications.
Navigation Path
Path: Screen Mgmt.> Banners
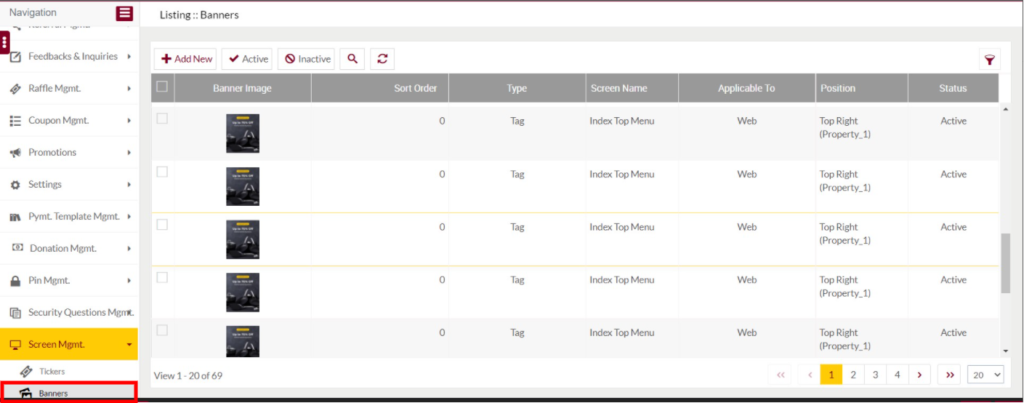
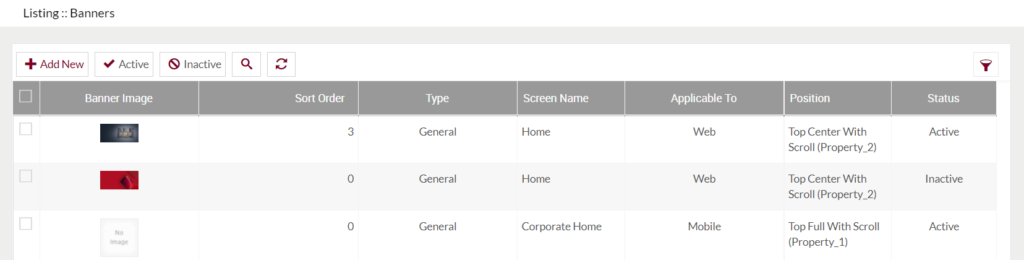
Listing Screen
View list of the Banners that were previously added by the Administrator. Admin will have an option to add, update, and activate/deactivate the Banners. Admin will be able to search the Banners using the filter option this is provided on the list.
Add Banner: To add a banner, click on the below button
Add/Edit Banner
Fields available in the Add/Edit Banner Form

- Type (Required): Choose the type of banner from the drop-down
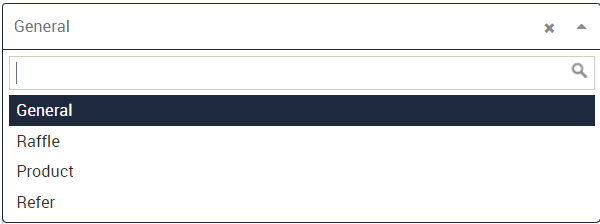
- For banner type “General“, on click, the customer will be navigated to the third party site. And the content displayed there is not in the control of the system.
- The additional fields that are added for the banner type “general” are
Advertisement Title: Specify an advertisement title for the banner.
Advertisement URL: Provide a URL for the advertising banner. On click, the customer will be navigated to that URL navigated page.
- To type “Raffle”, on click, the customer will be navigated to the Raffle that has specified for the banner.
- The additional fields that are added for the banner type “Raffle” are
Raffle (Required): Select the raffle for the banner from the dropdown. On clicking the banner, the customer will be navigated to the selected Raffle page.
- To type “Product”, on click, the customer will be navigated to the product that has been specified for the banner.
- The additional fields that are added for the banner type “Product” are
Products (Required): Select the products for the banner from the drop-down.
- To type “Refer”, on clicking the banner from any of the eFuel platforms(both mobile and web) the customer will be navigated to the Invite a Friend page.
3. Applicable To (Required): Select the option whether the banner is applicable to mobile or web.
4. Screen (Required): Based on the option selected for the “Applicable To” field, the screen will be listed here. For example, if the user selected the option “mobile”, then the screens available in the mobile application will be listed in the dropdown. Usre can select the screen where he/she wants to dispaly the banner.
5. Mobile Image: select the mobile image for the banner.
6. Position: Specify the position for the banner displaying the banner. For example, if the position is specified as Top left then this banner will be displayed at the top left side of the homepage(both in mobile and web).
7. Sort Order (Required): Provide the sorting order for the Banner display.
8. Status (Required): Select the status of the banner.
Before Submission, the admin will have the option to go to the listing page by selecting the “List” or by selecting the “Stay” admin will stay on the same banner add/update page.
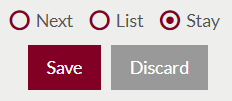
- Admin can save the Banner by submitting the form or can discard the banner.
- On Submission, the banner will be listed on the banners listing page.
Activate and Deactivate Banners

- Admin will have the option to Activate and Deactivate the banners from the list.
- Admin needs to select the banners from the listing for activating or deactivating the banners.